
Just some background information on rosettes... I HAVE MADE WAY TOO MANY ROSETTES TO COUNT. To put it eloquently. At least a hundred. You see, I sold them for the Green Fashion Show that I organized and they were a surprisingly huge hit so I made TONS. And, somehow, I still haven't gotten sick of them and made EVEN MORE. Which is a real testament to how awesome they are and how YOU SHOULD DO IT. (Guys, I'd be an awesome camp counselor! Look at that ENTHUSIASM. Can you give a Y? An A? Another Y? YAY!)

(selection of rosette hairclips that were sold)
So, at last, I will now be a good citizen and share my knowledge with the people because my soul is just beautiful and my wisdom must be spread to the kids of the future, the kids of tomorrow and I will now stop talking and move onto the tutorial so YAY.
ROSETTE TUTORIAL
Approximate Time: 10 minutes
Level: Easy (peasy pumpkin squeezy!)
What you need:
- Needle and thread
- Scissors
- Beads or buttons
- Scrap fabric (NOTE: essentially any fabric works for this. However, I've found that thin fabrics - ex. cotton, linen, etc. is MUCH easier to work with than thick fabrics - ex. corduroys, denim, etc.)
- Optional: hair clips, pins, something to embellish (ex. t-shirt)

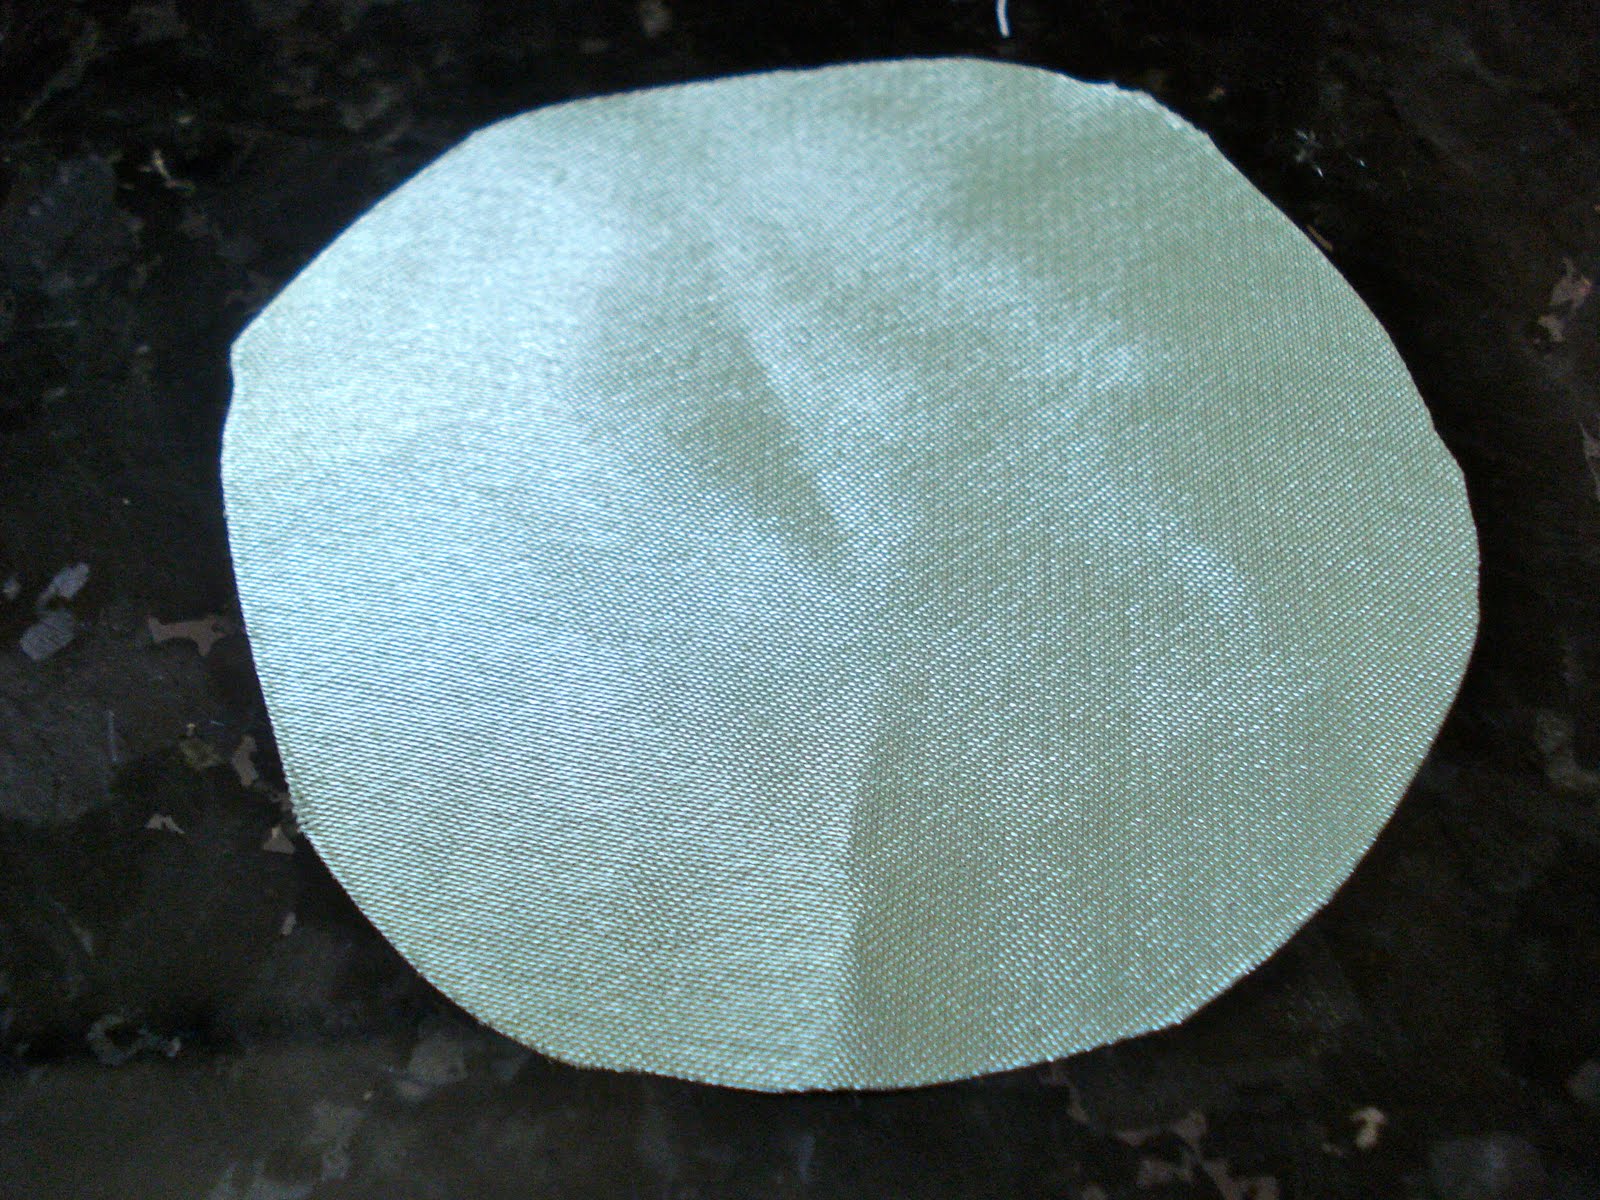
Step 1:
- Cut your scrap fabric into a circle
- The larger the circle, the larger the rosette
- As a rule of thumb (ie not necessarily accurate and I kind of made it up), the radius (MATH TERM - half the size of the diameter/ circle) will be approximately the size of the final rosette
Step 2:
- With a needle and thread, loosely stitch around the circumference (outside) of the circle a few millimeters from its edge
- Make sure the thread is securely knotted at the end

Step 3:
- Gently pull on the needle so that the circle begins to "scrunch" up (kind of like a dumpling! Asian reference.)


Step 4:
- Stitch the centre in place a few times (to prevent fraying and hold it secure)


Step 5:
- Add a form of embellishment to hide the not-so-hot centre
- This can include a single button, a bead, multiple beads, etc.


Step 6:
- Finish it off however you like!
- Step 5 may be the final rosette or you may want to embellish it more, depending on what you'll use it for
- Ex. you may want to add more rosettes and layers (below), sew it onto something as embellishment (ex. t-shirt), or glue gun it to a pin or hairclip (supa cute)
TA-DA!

The beauty of these thingamajigs is that they LOOK complex but it's really like an OPTICAL ILLUSION. They're super simple!
HAVE FUN!
I hope you guys actually try this one because it's REALLY easy. I wouldn't have made over a hundred if it weren't the case. And if you make one... 1) I'd LOVE to see a pictcha and 2) I'd appreciate if you linked back to my blog if you blog about it :). Therefore, make one!
OH, and if there's anyone that gets REALLY into it, PLEASE make this?! It's on my to-do list of things I'll probably never do. But it's BEAUTIFUL. And do-able. And time consuming. And exhausting. But BEAUTIFUL. Hollaaaa!

Chanel Couture 2010, style.com
:)
P.S. Outfit post TOMORROW. I PROMISE. I know it's been awhile and I have now accumulated a small town of photos that will make it onto this blog with time. Amen for good things coming to those that wait. (P.P.S. I don't know if this implies that my outfits are considered "good things" consequently making me sound conceited so to clear the air, I'm not conceited! I just like applying phrases because it makes me sound intellectual and that's always a bonus. iizsmartguyz.)
Kisses.
17 comments:
What a great tutorial, I ought to try making those pretty rosettes!
Wow. I loved this. I am so going to spend my evenings making them. And putting them onto something. I have a bunch of tee's that I never wear, so this will probably be perfect.
Ps. Open an etsy shop. Please and thank you.
I WANT A CAPE WITH FLOWERS D: thanks for the tut-tut (nickname for tutorial). I'll have to make a hairband or something!~
First of all thanks so much for visiting my blog! I hope you come back soon. After taking a peek at your blog I see it's beautiful and the tutorial I just read was very nice! Keep it up, and Congratulations on your 100th post! I've decided to follow you I'm really pleased. Be sure to come back soon to my blog, it'd mean a lot. Thanks :)
That's an awesome tutorial. I'm going to get balls deep in crafting soon, and I thank you very much, as this will be utilized.
Ooh la laaaa. So cute! I have no DIY skills AT ALL, though, so it's probably too complex for poor lil old me. ><'
Looking forward to your outfit!
- xo, kyki ♥
lunacy--fringe.blogspot.com
thx for sharing this is great ^^
awesome DIY!! i have a feeling I'll be making a lot of these during the summer ;)
xx
wow awesome tutorial! thanks for posting this, i have to try it :P i love your style! :D
Hahaa you're so spunky and cute!
And gosh I'm definitely trying this out! Once I get my hands on some presentable beads/buttons. xD
And I know its slow, but i'm loving your banner :D
Yay! Love DIYs, thanks muchhh <3
Love,
Gets
http://wastedseventeen.blogspot.com/
I agree with Ruta, you should open an Etsy shop and sell those. Even though it's apparently so easy to make them. :)
Congrats on 100 posts! Your rosettes are gorgeous! I once made a dress and covered it in them. Because I am crazy.
Chic on the Cheap
yum, i am SO making these.
wow, chanel? never saw too many rosettes on a dress! and you have got some talent!
by the way, do you like green? cuz i love green!
♥ vanilla ice cream ♥
Lovely post!
Thnx for sharing<3
XX
Those do look very easy to make, I just don't know what I'd do with them...perhaps put them on my book shelves as they need some added decor!
I'd love to see someone make the Chanel, so beautiful..
http://www.joannefaith.com
Post a Comment